How to Make Your Own Cheeseboard
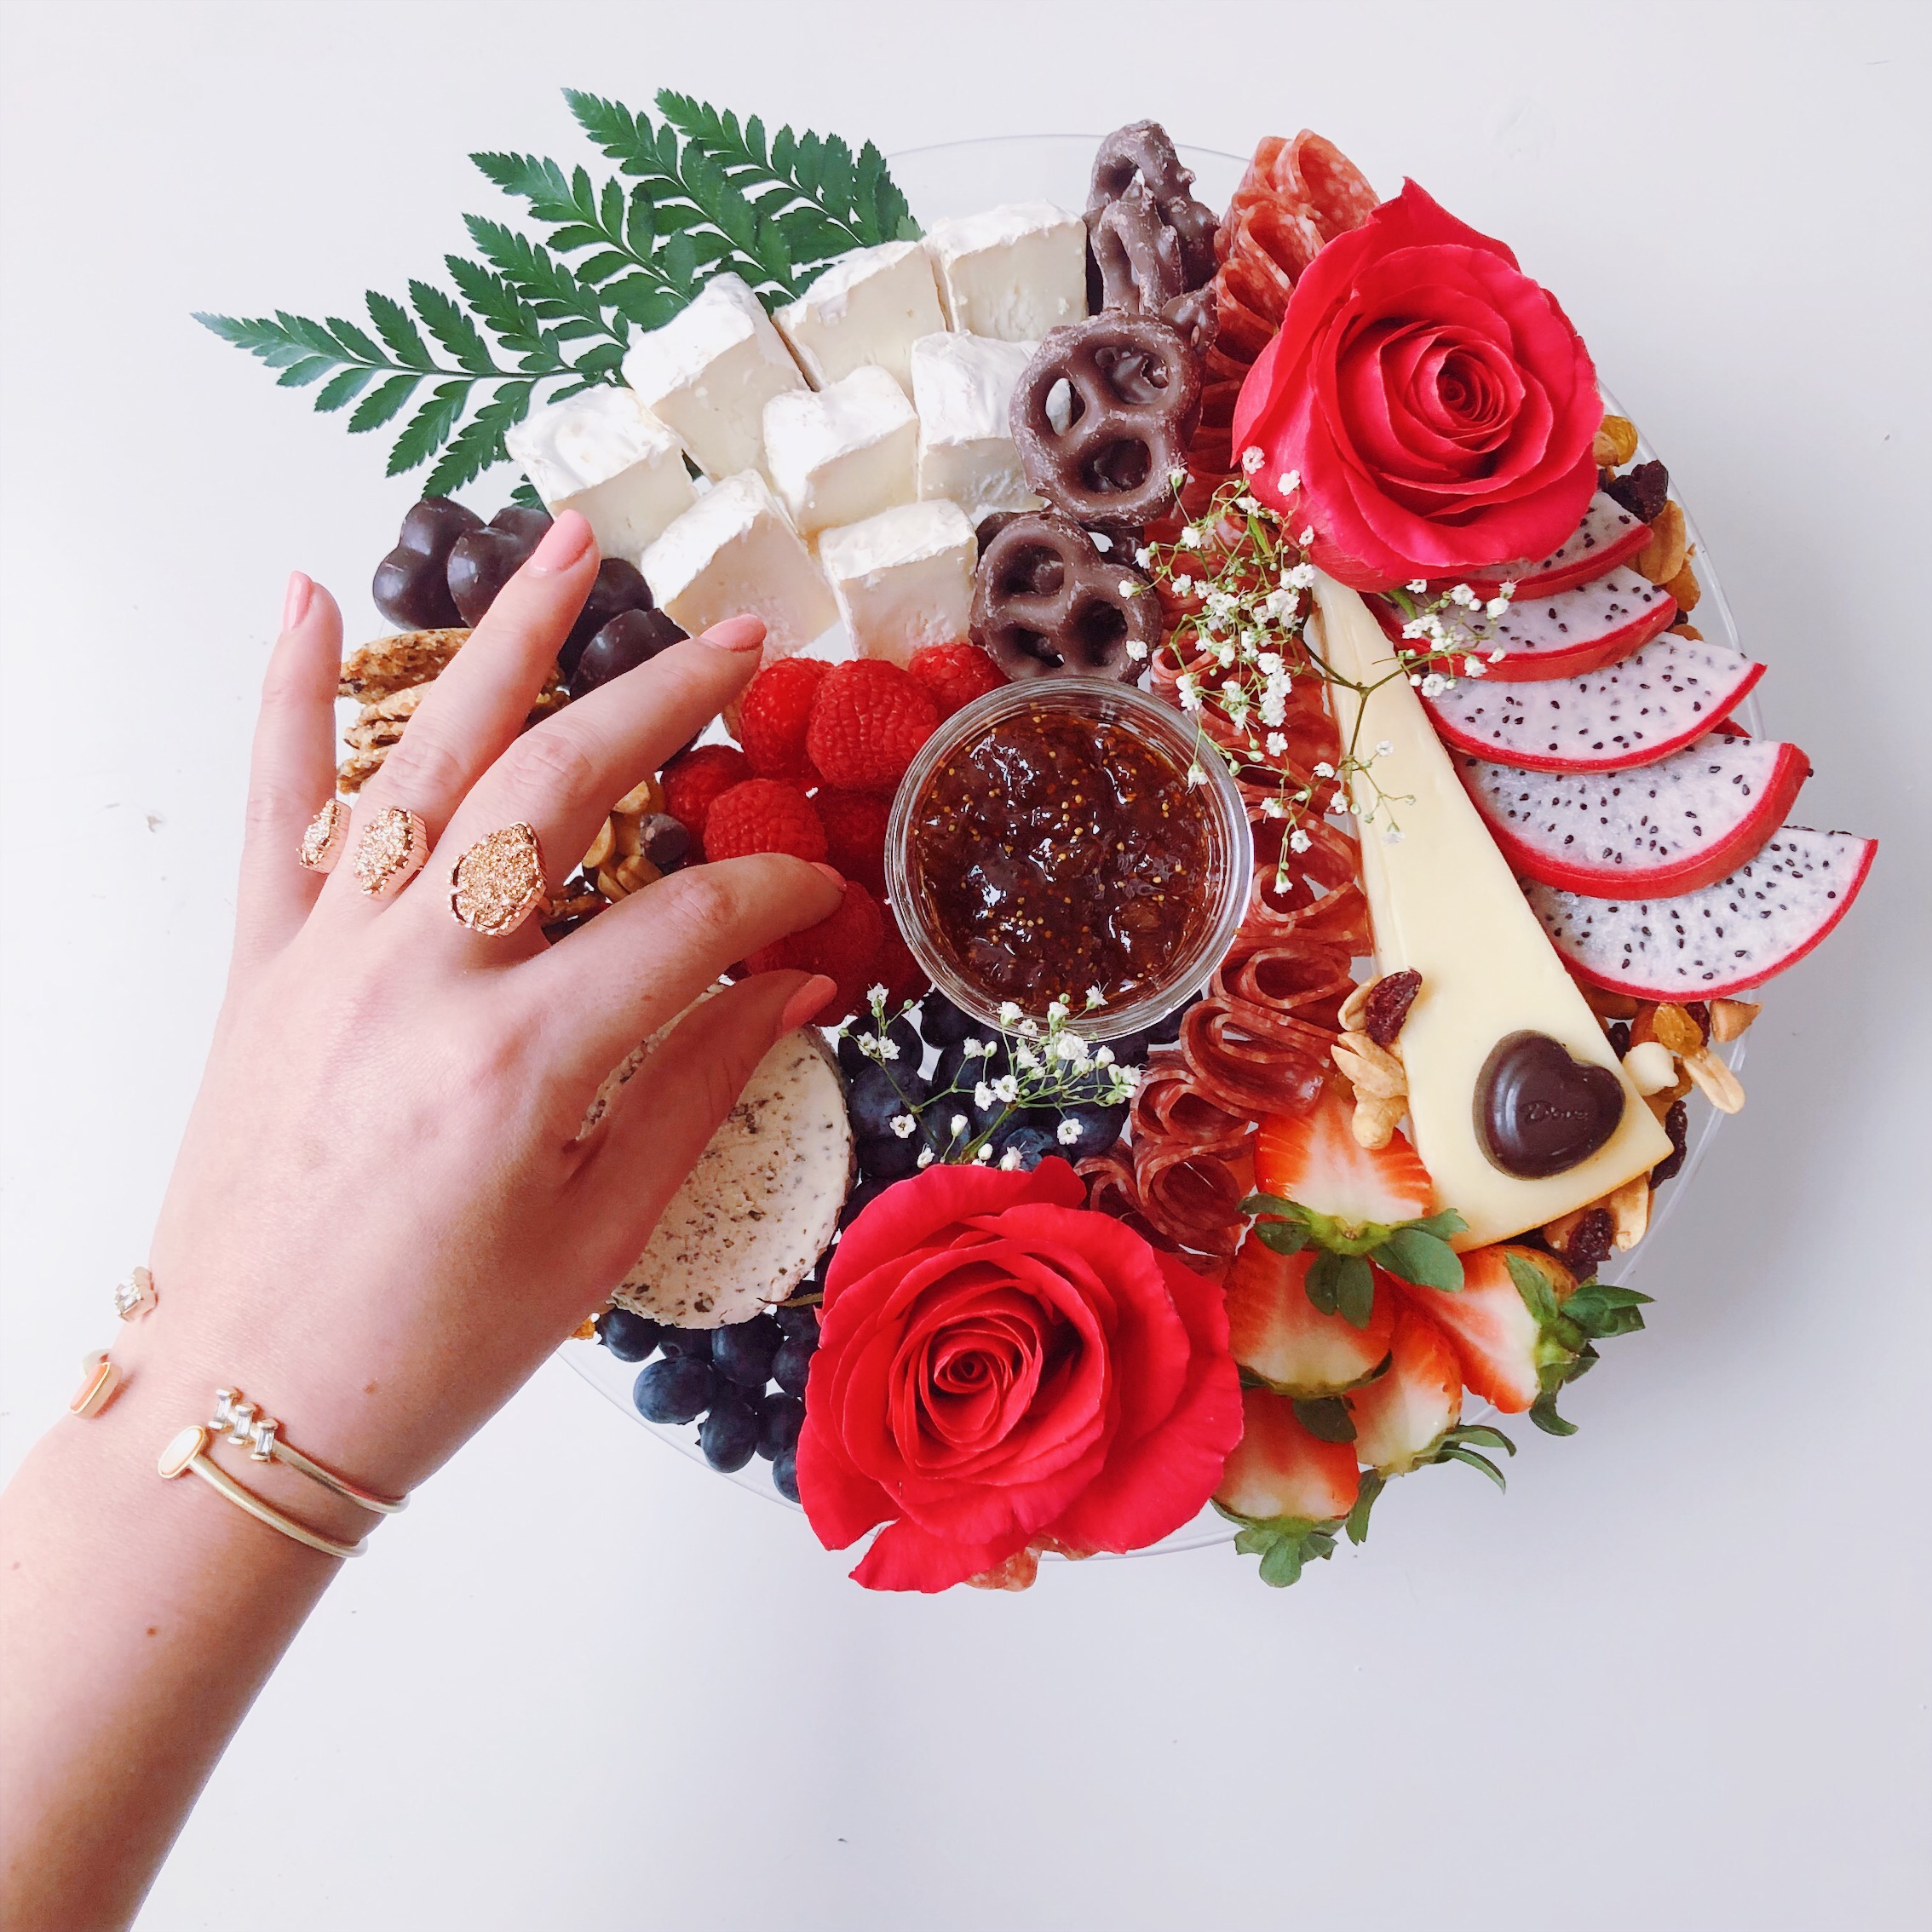
It’s Bachelor season! Which means that every Monday, you can count on us to be curled up on the couch with a bottle (or two) of wine, our best gals, and of course, a killer cheese plate. We know that learning how to make your own cheese board for the occasion may feel overwhelming at first – which is why we asked Marissa Mullen of That Cheese Plate to share her foolproof “Cheese by Numbers” method and create a board perfect for bingeing The Bachelor.
STEP 1: PLATE
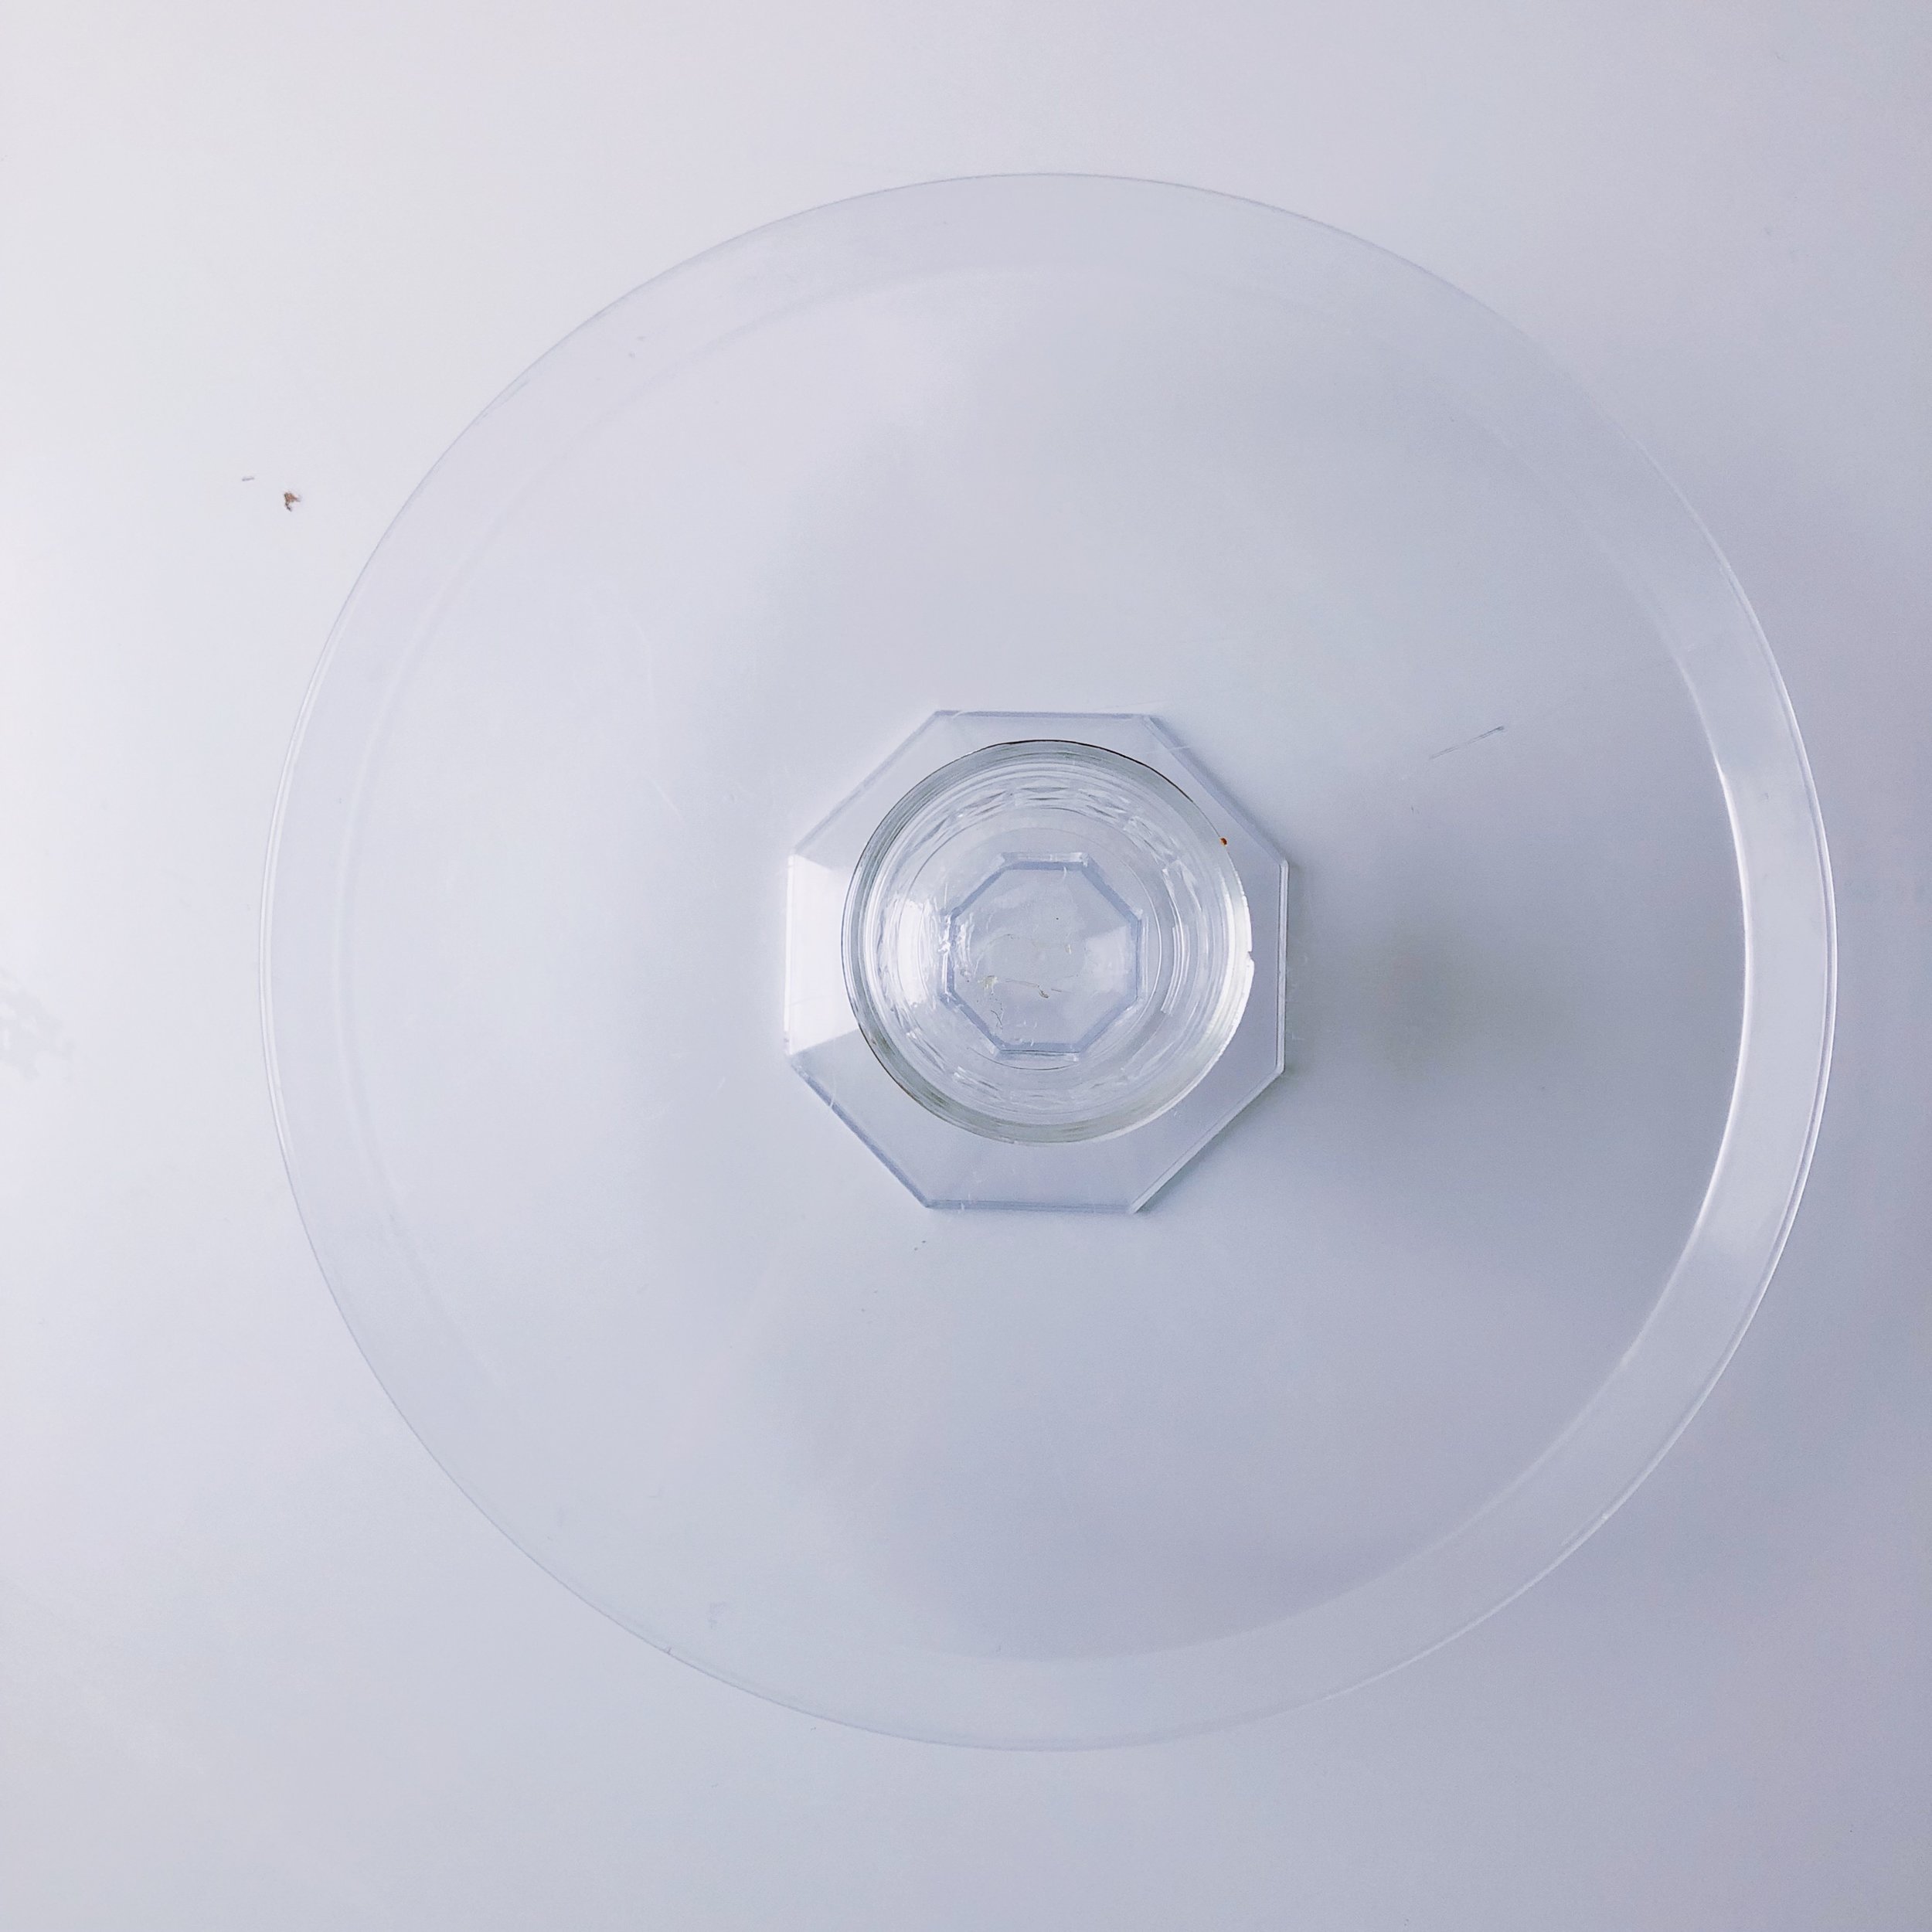
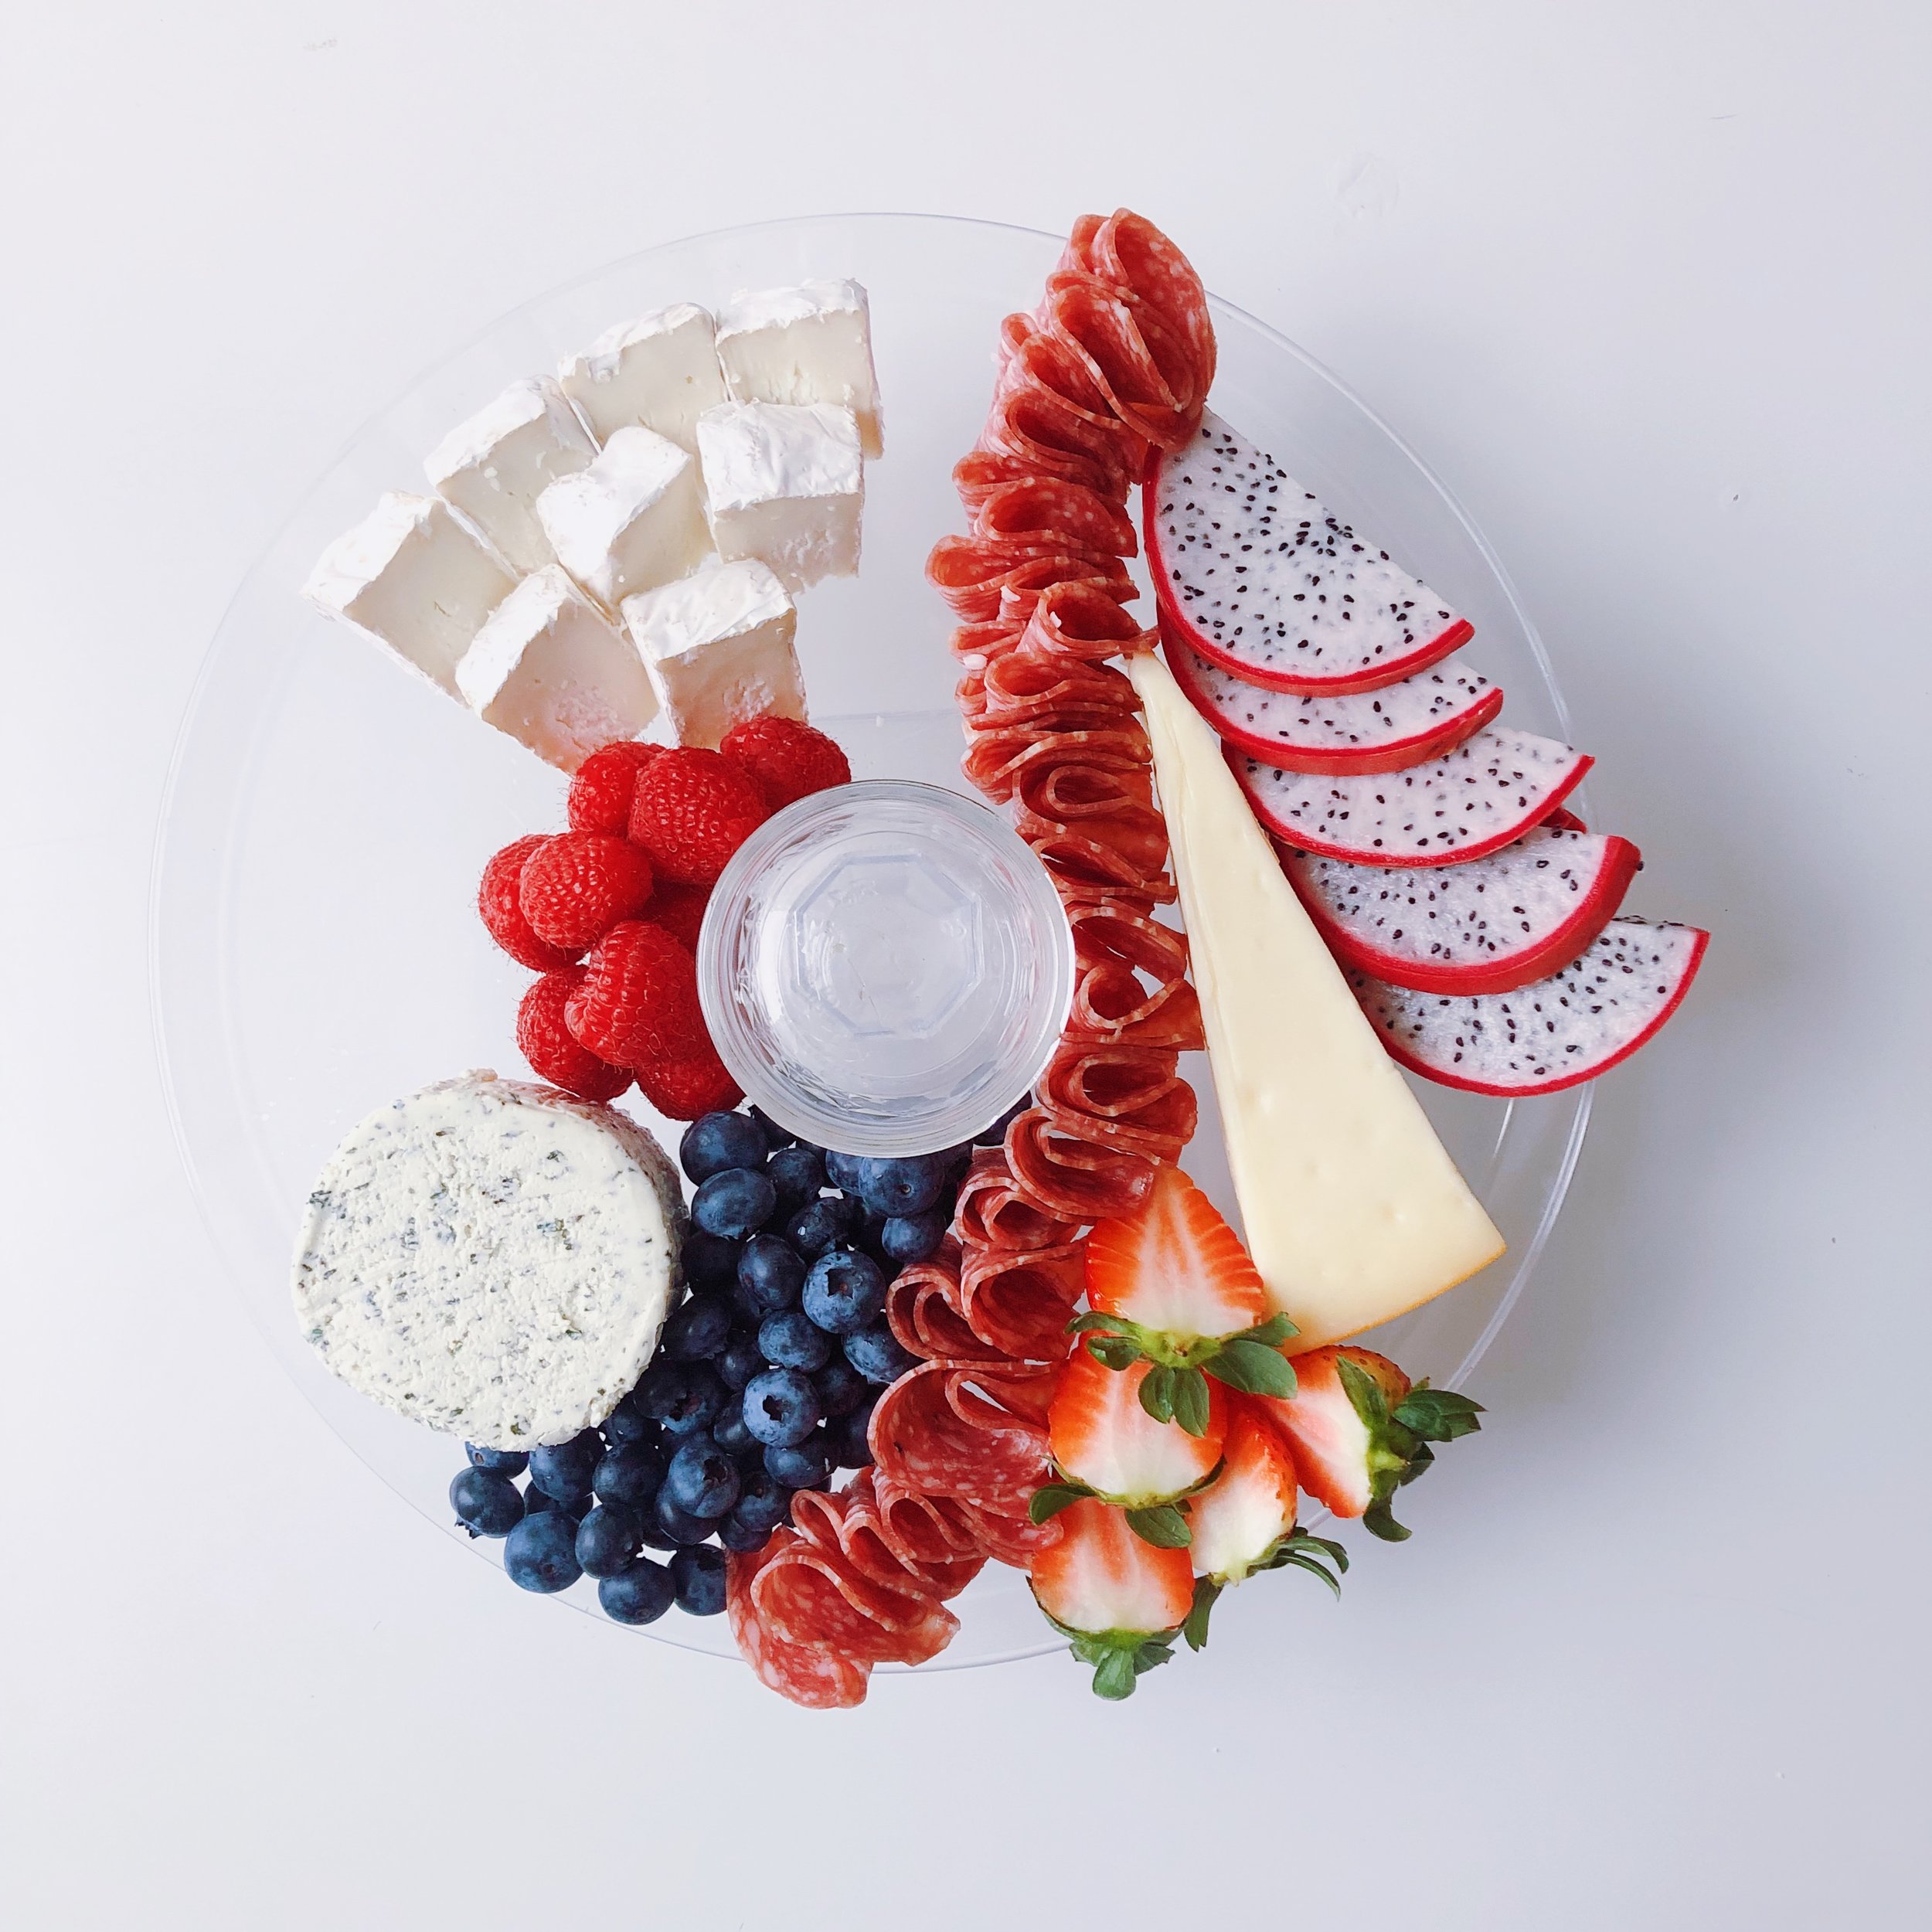
First, you need to find a board. In this case, a plastic cake tray is great because it’s sized to feed 6-8 people. Before you add food to the mix, place a 2oz glass ramekin in the center.
Step 2: Cheese
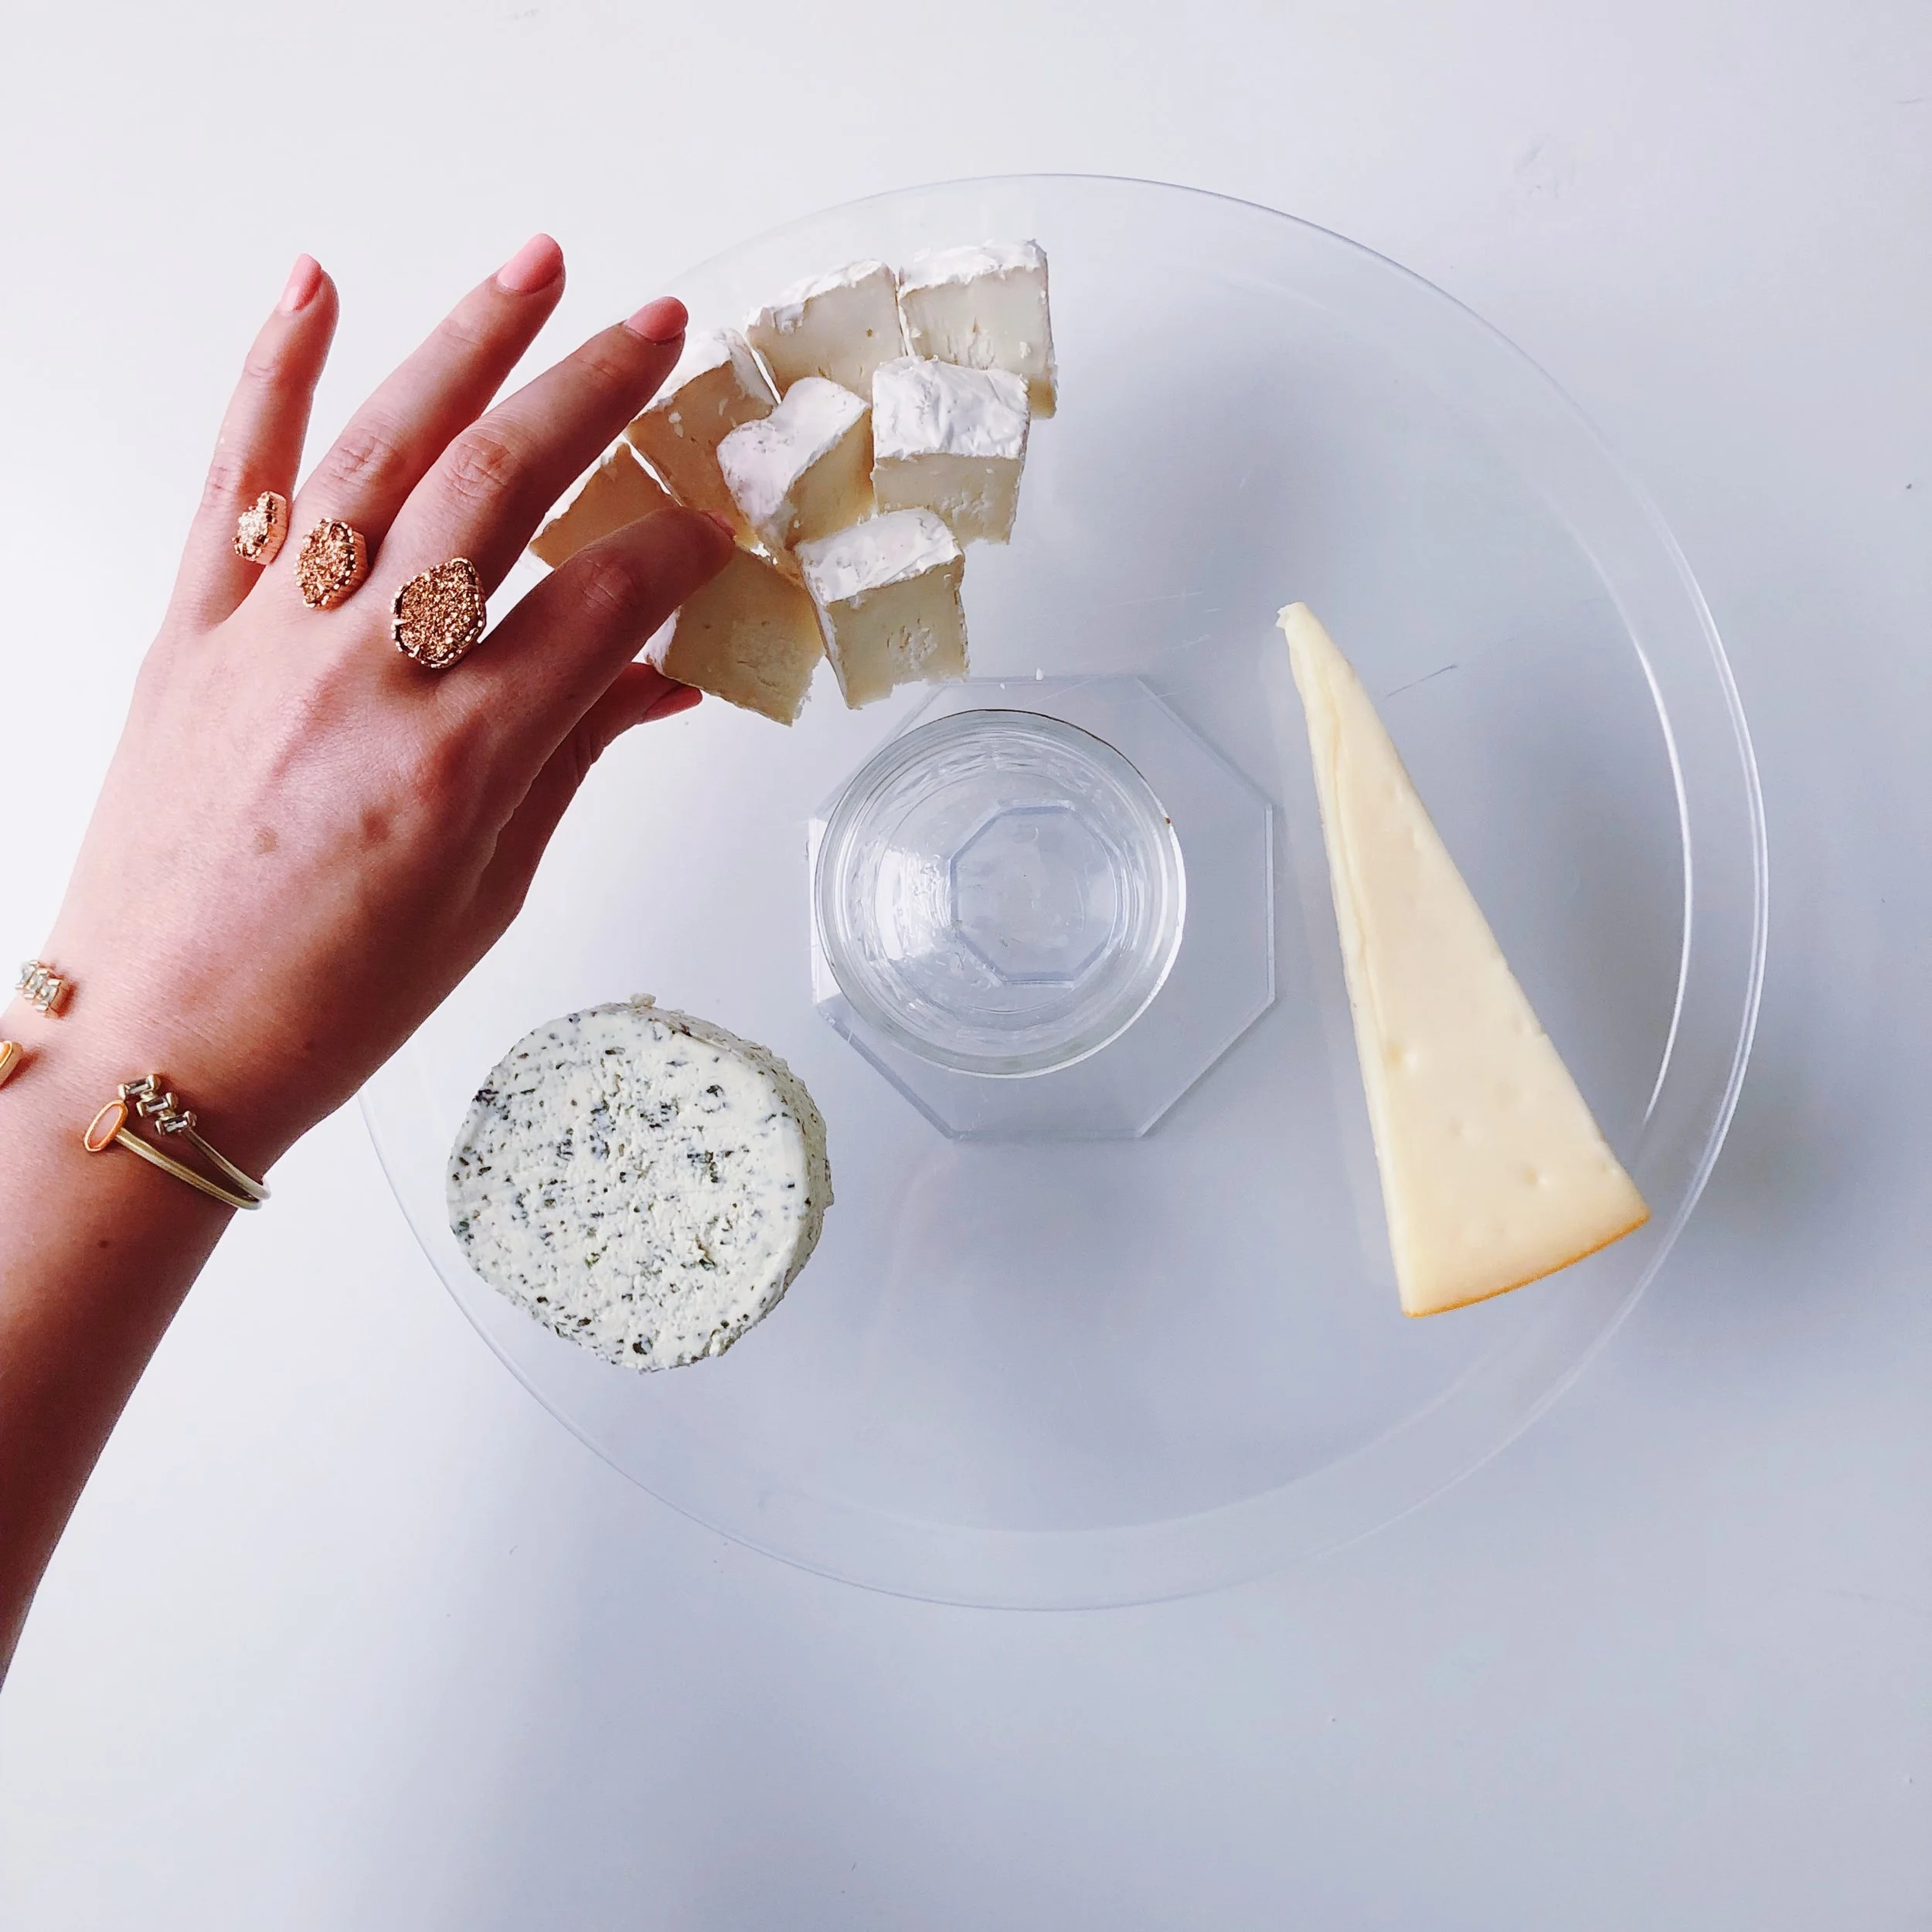
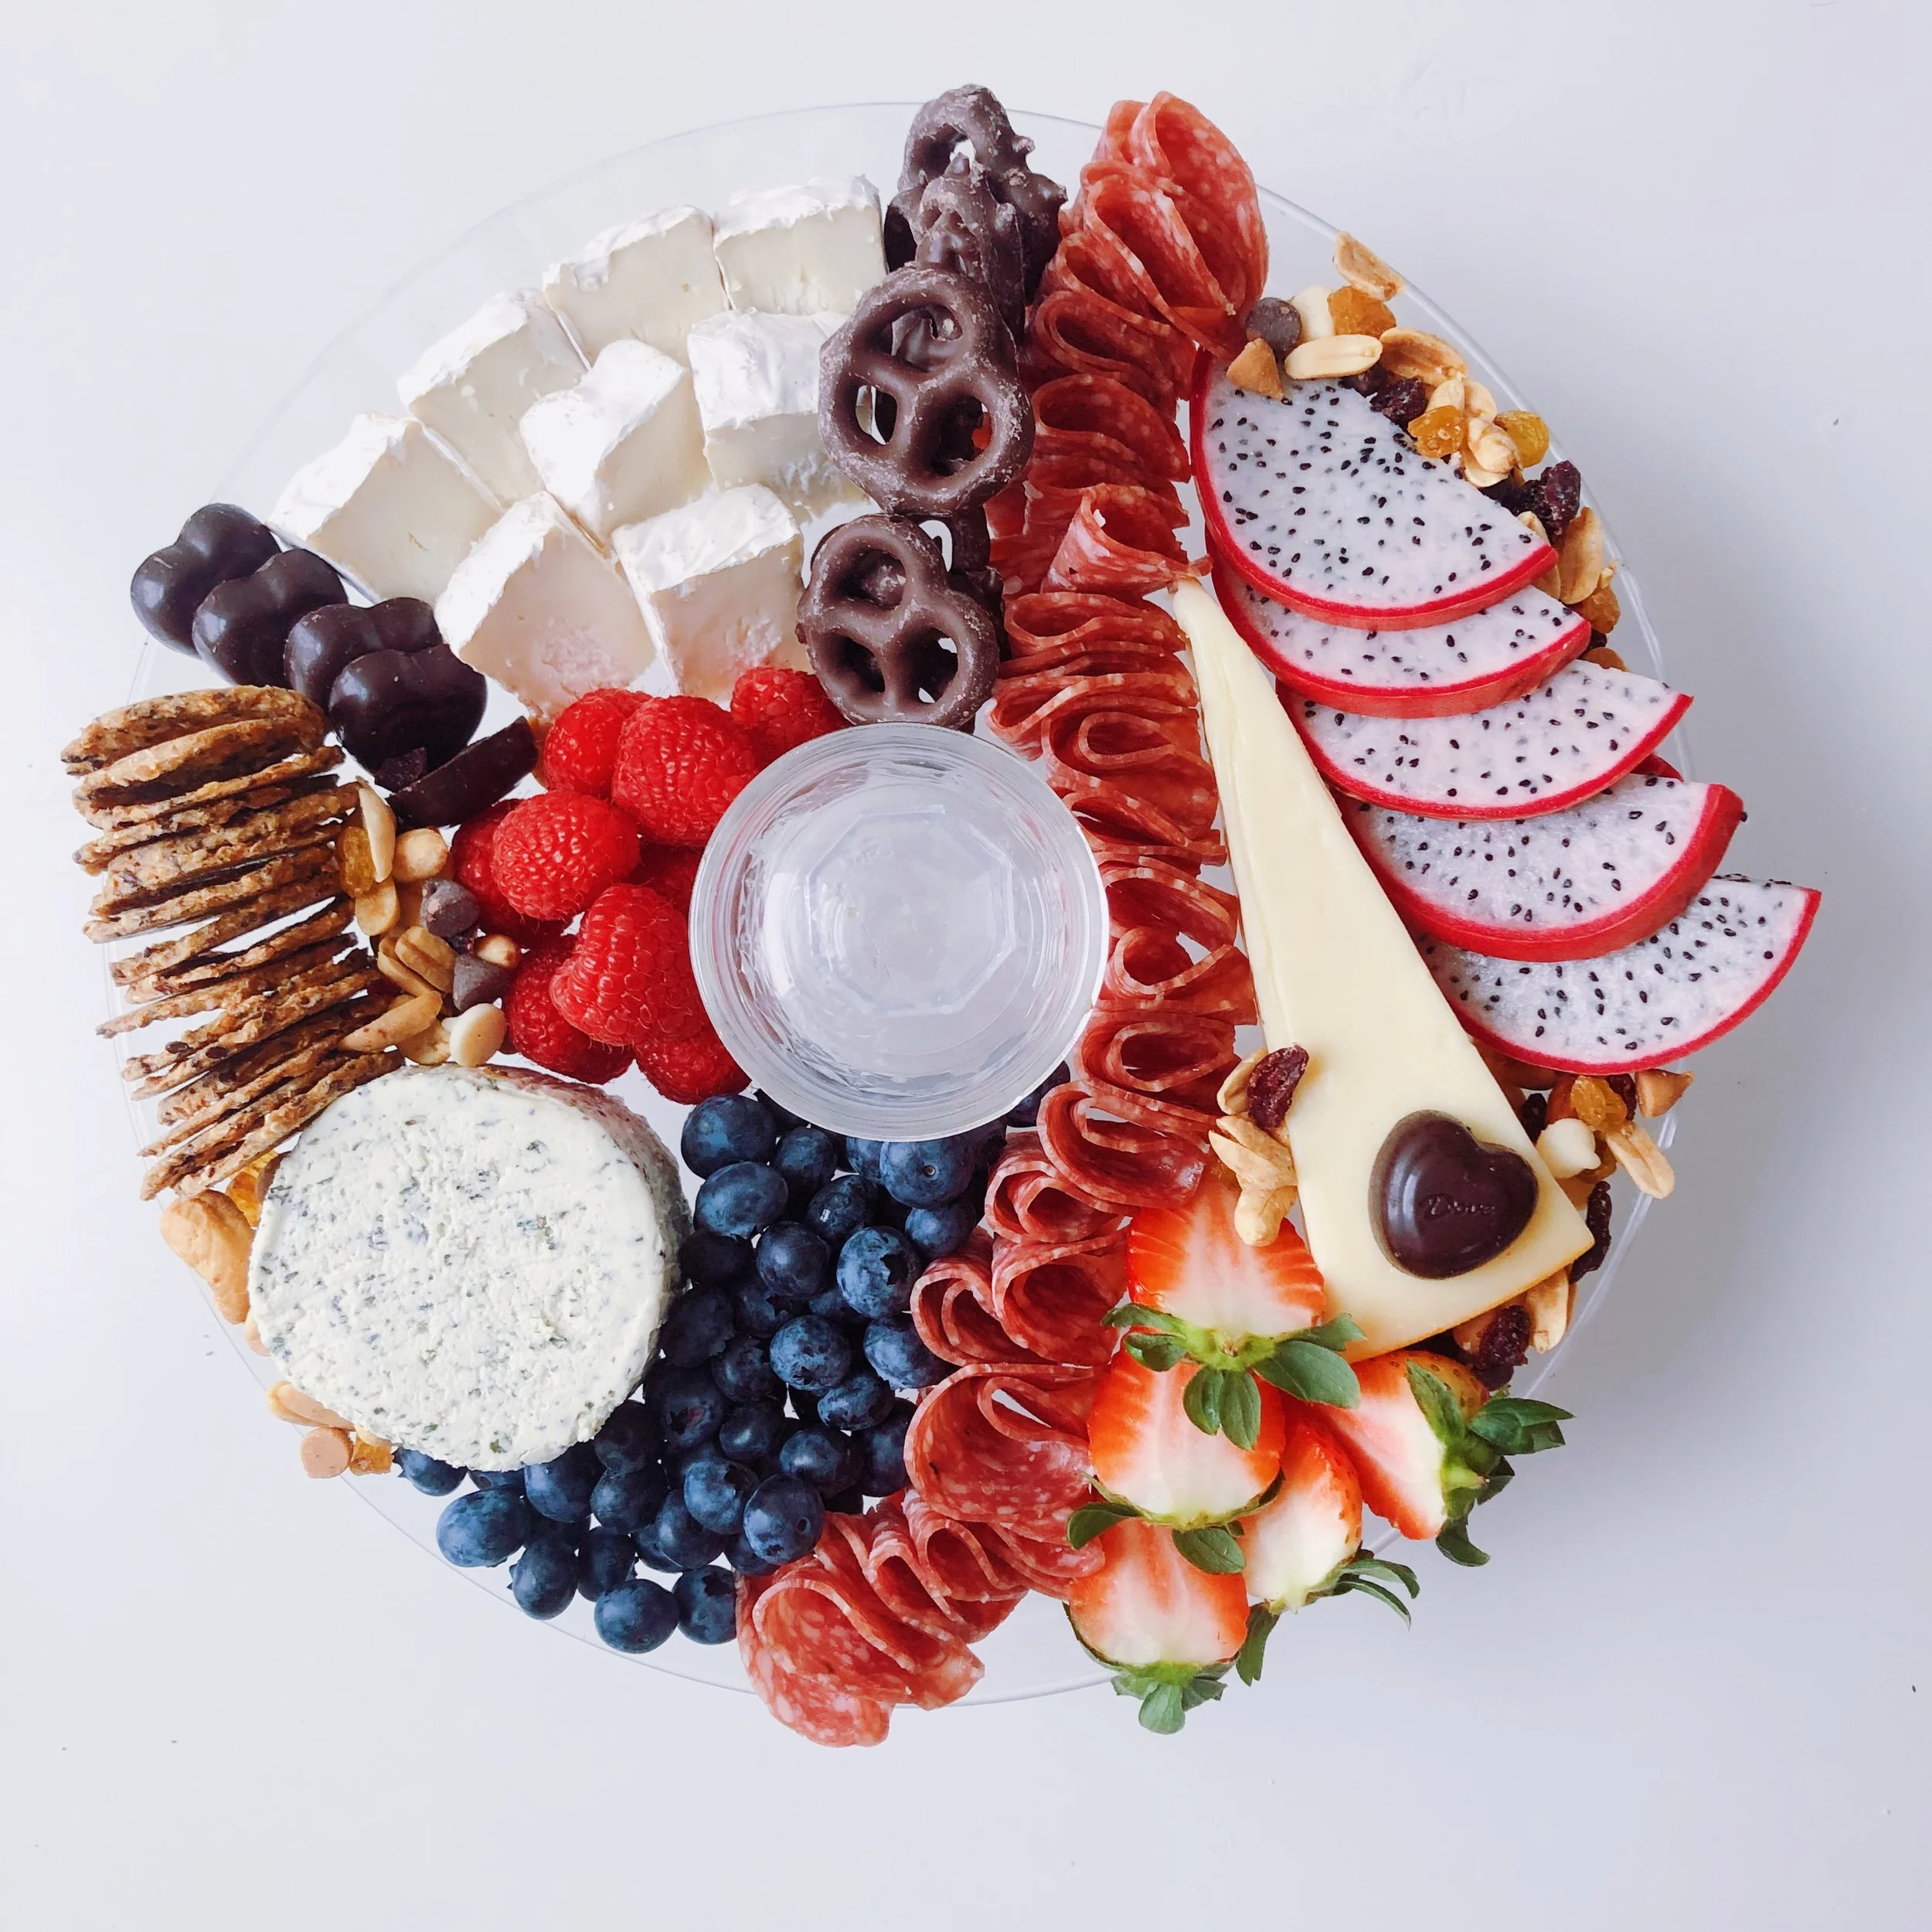
Start by placing some indulgent cheeses evenly around the plate: creamy Goat Brie (cut into eight slices for easy grazing), a spreadable pepper Boursin, and a semi-soft Mahon. Make sure none of them are touching each other!
Step 3: Meat
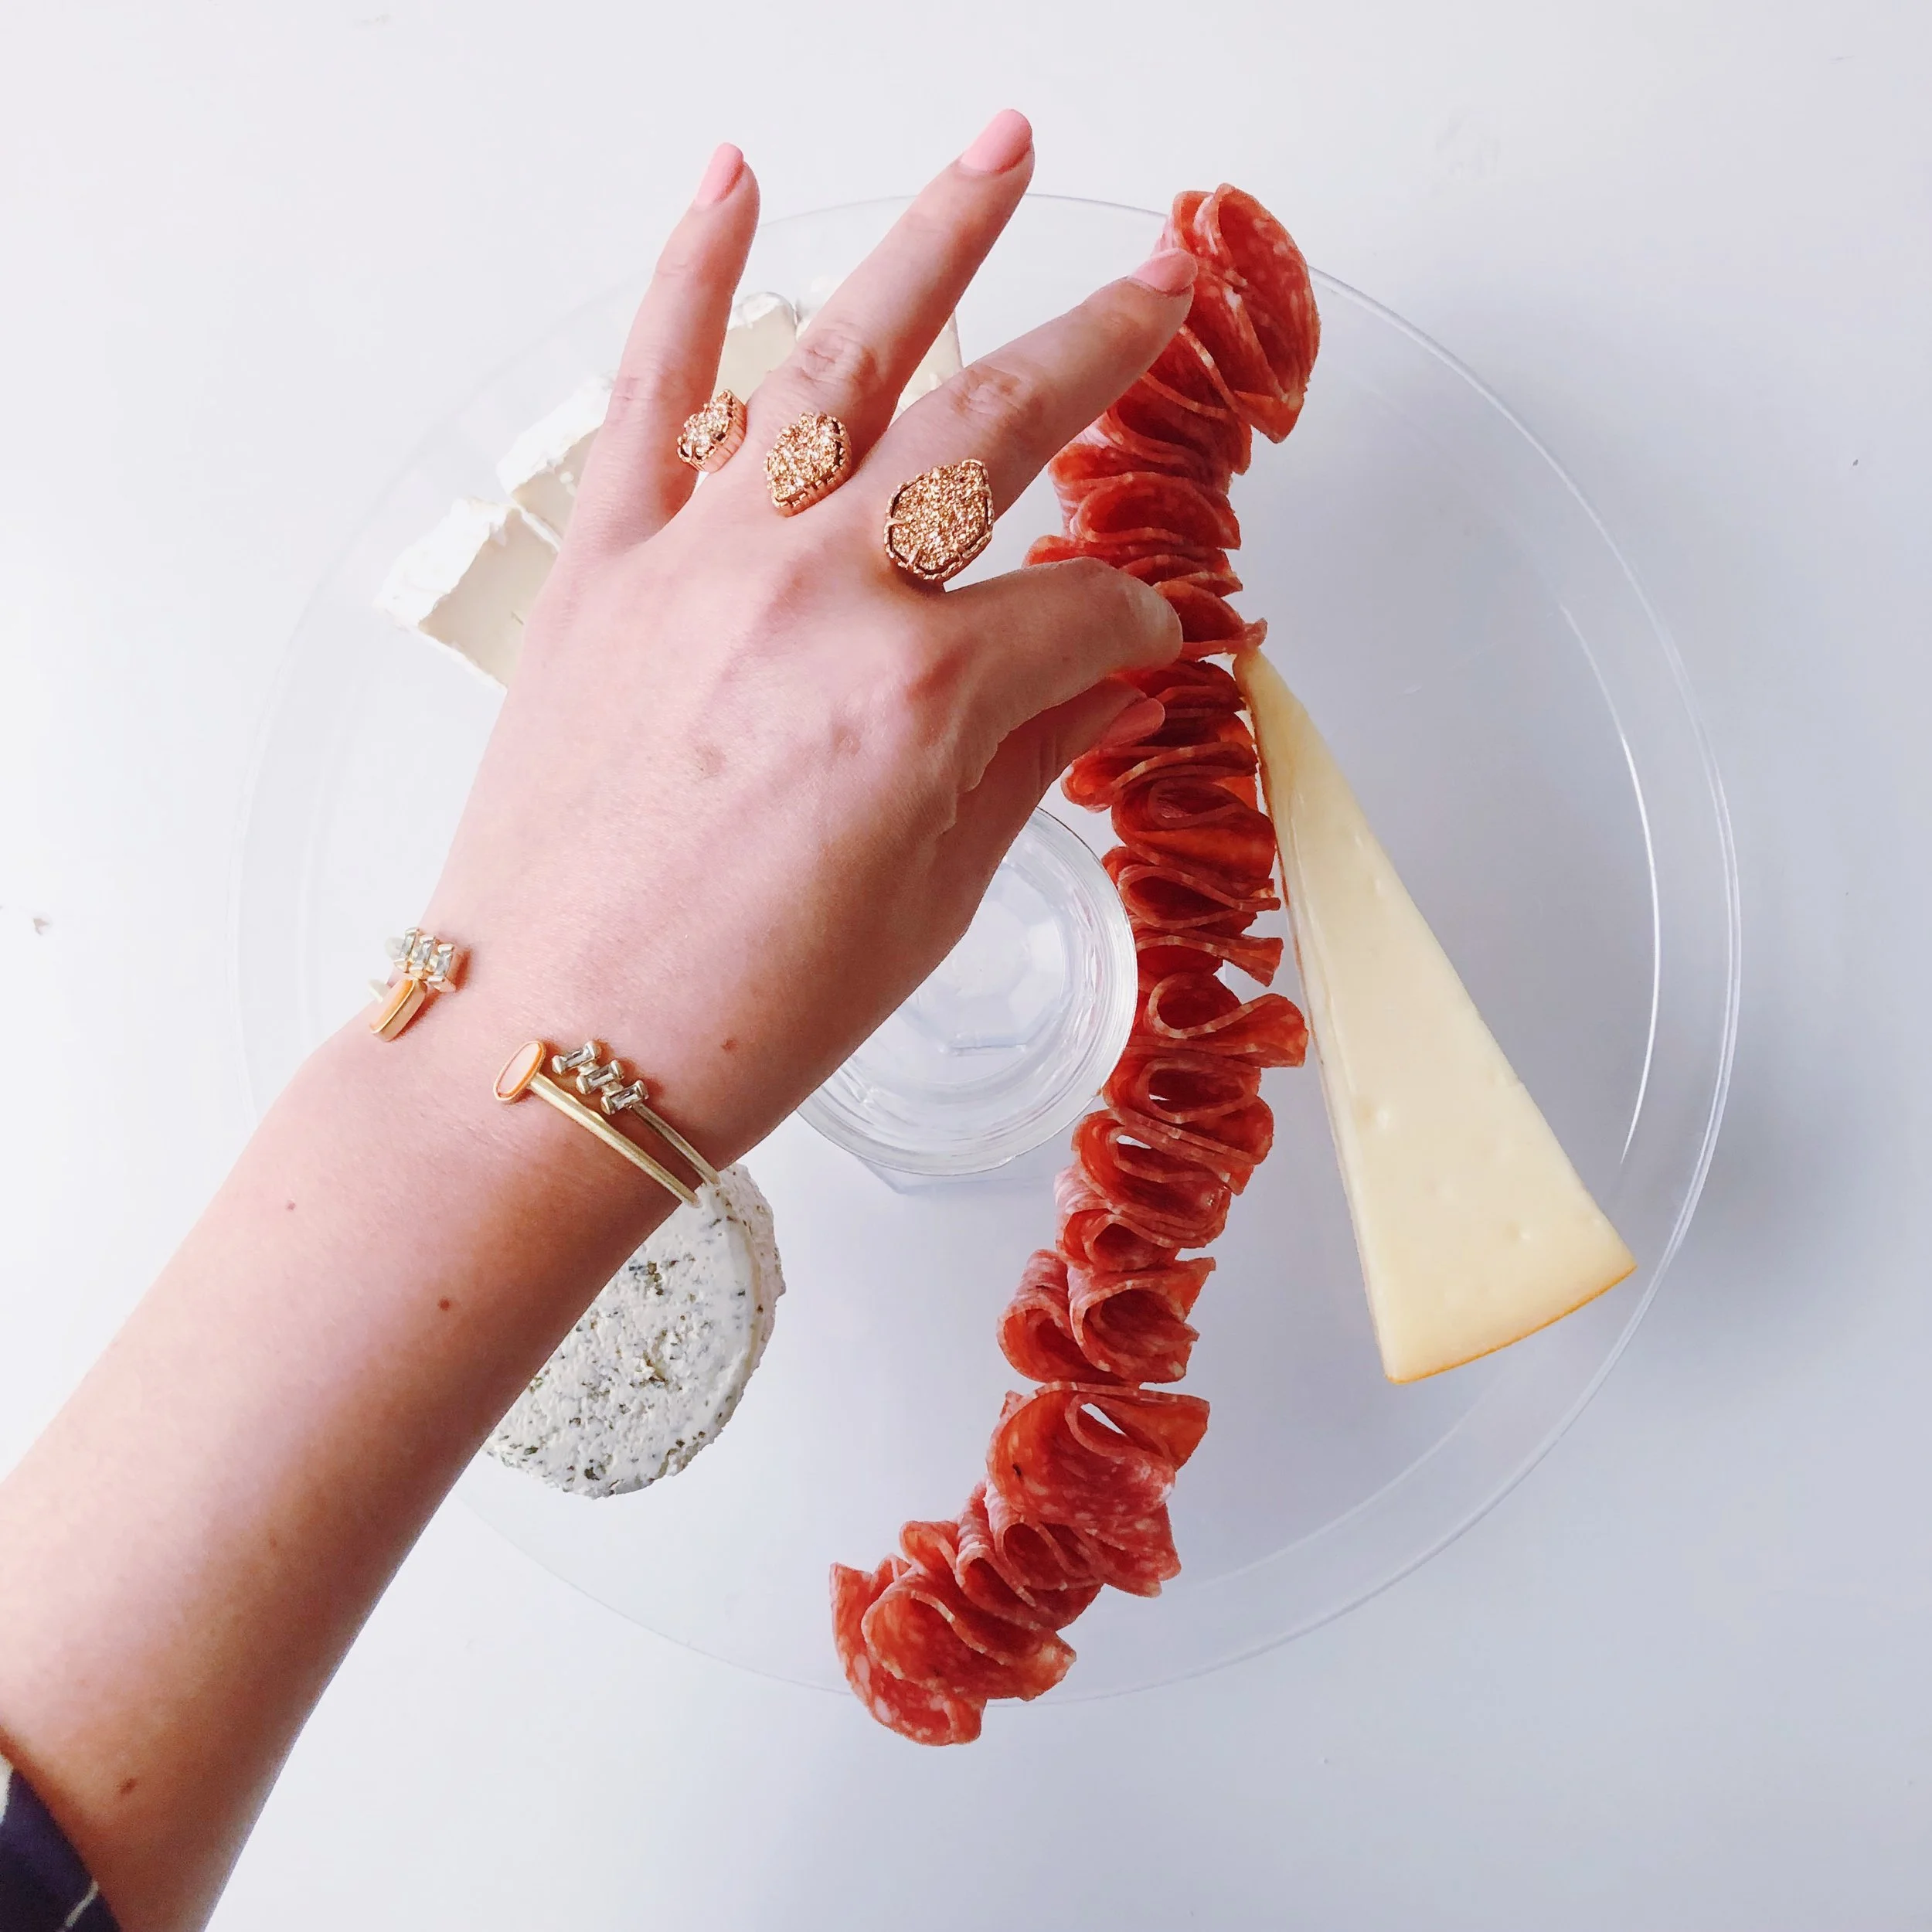
Because what’s cheese without meat? Fold salami in half, and then in half again, to create a salami river down the center of your board. Use multiple pieces at a time to ensure that the pieces don’t unfold.
Step 4: Fruit
Fruit is an easy way to add a pop of vibrant color and sweet flavor. On this board, we have fresh strawberries, raspberries, blueberries, and dragon fruit.
Step 5: Crunch
At this point, you’ll notice that there’s some holes on your plate – and when you’re trying to figure out how to make your own cheese board, that can be intimidating. But it doesn’t have to be! All you have to do is fill in the gaps with mixed nuts and crackers for texture.
Step 6: Dips
Fig jam is a versatile dip that isn’t too sweet and has a mild tang to it. Try it with the Goat Brie and salami for a true party in your mouth!
Step 7: Garnish
Herbs and fresh (edible!) flowers add a beautiful finishing touch.
Marissa’s Pro Tips for How to Make Your Own Cheese Board
Take your cheese out of the fridge 30-45 minutes before serving for maximum texture.
Make sure everyone gets all the crackers they want by serving a plate of them on the side.
If you decorate with non-edible flowers, make sure to wash them off and plastic wrap the stems to avoid spreading pesticides.
For more cheese plate inspiration follow Marissa @ThatCheesePlate, @CheeseByNumbers, and visit her website at www.thatcheeseplate.com
